
Last week, in preparation for our Kettlebell Strength Classes that start September 6th, we held a kettlebell swing clinic at Beyond Strength Performance NOVA. We walked the attendees—some were current BSP NOVA Clients, others were new comers—through all the steps it takes to do a successful, safe kettlebell swing.
If you couldn’t make it, we don’t want you to miss out, so we’re going to recap some of what went down at the clinic in this blog post.
While the kettlebell swing may seem a daunting exercise, it’s really as simple as knowing your ABCs—and that’s how we teach it. By associating different parts of the swing with the first three letters of the alphabet, we break it down into manageable learning chunks that allow you to successfully learn the swing.
But First, Planks
Why start with a plank? That’s just some ab exercise, right—it doesn’t have anything to do with a kettlebell swing, does it? Well, sports fans, it sure does.
The top of every kettlebell swing, heck, the top of every deadlift and squat, is a plank. And we need to maintain the plank position from our hips to our head as we move through the kettlebell swing to keep our backs safe and healthy—and also to swing that dang bell as hard as we can.
So, let’s walk through a good plank.
We use this posture called “tall and tight” to qualify our planks. That means that the bottoms of our ribs are pointed at our hips and the tops of our hips are pointed at our ribs.
It looks like this:
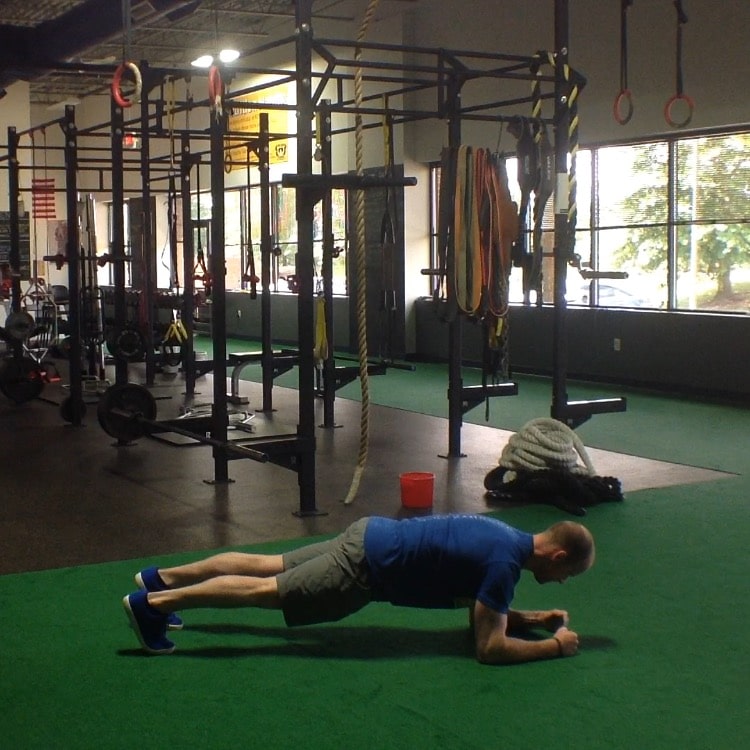
This is the position that we finish in at the top of the kettlebell swing—but instead of being face down, we’re standing up. Also, like mentioned a few paragraphs ago, our upper bodies maintain this position throughout the entire movement of the swing. We should be locked in, steel, from head to hip to keep our spines safe and to make sure that just our hips are doing the work to swing the bell.
Okie doke, moving on!
The A: Kettlebell Deadlift
The kettlebell deadlift starts the show because it teaches us how to get into position and move with strength and control before attempting to powerfully swing a kettlebell.
To do a solid kettlebell deadlift, we start with a good hip hinge. That looks like this:
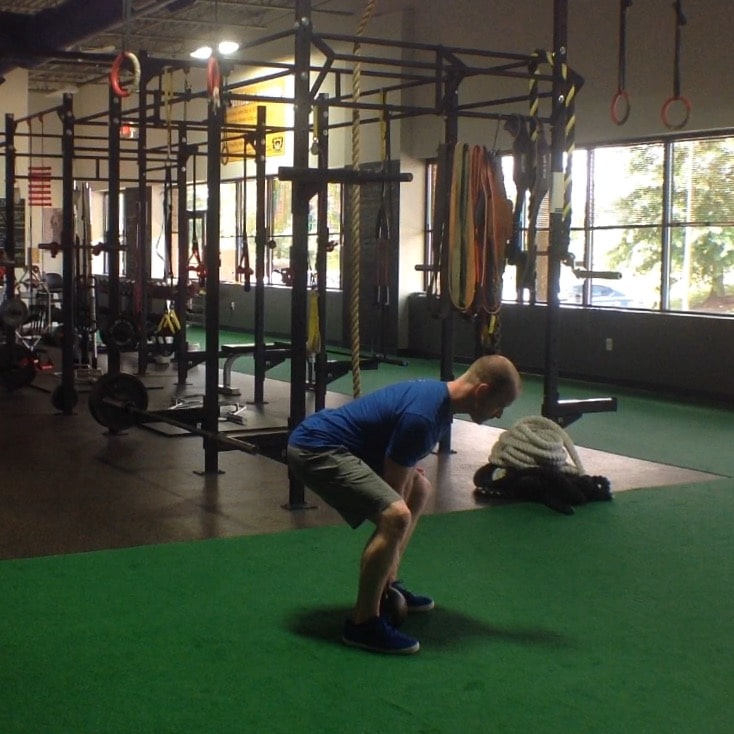
Notice the “tall and tight” plank position throughout the movement. Our fantastic model is doing three things to be successful: he’s staying tall and tight, he’s reaching back to find 9 o’clock with his butt as his knees unlock, and he’s driving through the floor to come back up to the tall and tight, standing plank position.
Our fantastic model set up with the kettlebell on the floor and the handle directly in line with his ankles. Performs that good hip hinge we talked about until he’s low enough to grab the bell, then he gets tight by squeezing the bell, and his abs, hard, then he stands up with that sucker.
That looks like this:
Once we nail this A deadlift, we progress on to the B.
The B: Kettlebell Deadlift
(Elevated and Slightly Farther Back)
Ok, on to the B position deadlift.
For this one, we’ll do pretty much all the same stuff we did for the A position deadlift, except we’ll line the bell up with our heels instead of our ankles, and we’re going to elevate to mimic where the bell would be on a back swing.
Now, as we get to the top of this B deadlift, we’re going to let the bell swing in front of us. To do that, we’re going to deadlift the bell quickly so that the momentum of our hips launches it forward. This teaches us to “snap” our hips to swing the bell and then also help us find our back spot, or our C position.
It looks like this:
The C: The Hike
Each full kettlebell swing begins with a bell hike from the ground. That hike ends with the kettlebell hitting the C position. It looks like this:
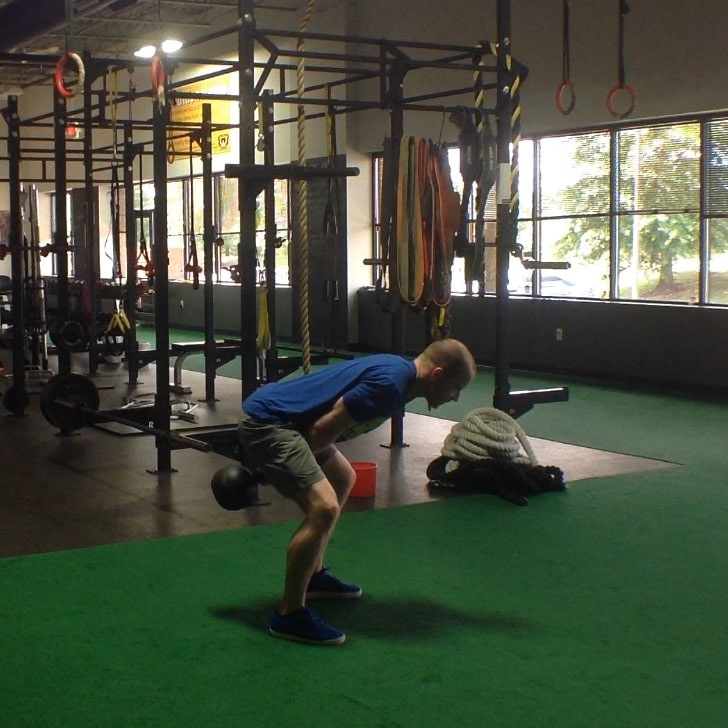
The hike sets us up for successful use of our hips. We pull the bell up into our hips, without moving our bodies, so that we can snap our hips and send the bell to the lock out position—that standing plank we talked about.
Practicing the hike over and over again is a good idea because starting in the right position goes a long way to help our success throughout the rest of the movement.
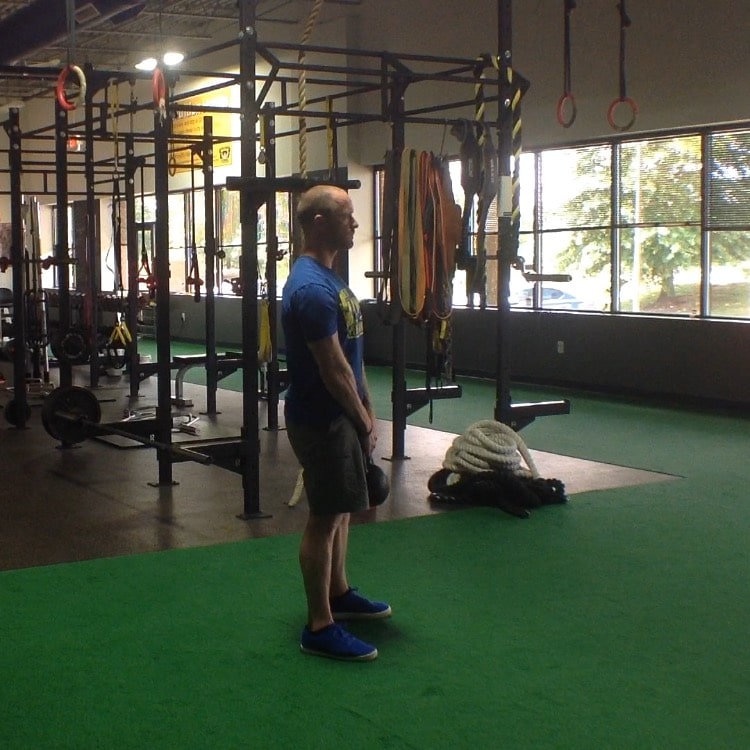
The Finish: Standing Plank
The top of the kettlebell swing should look like this:
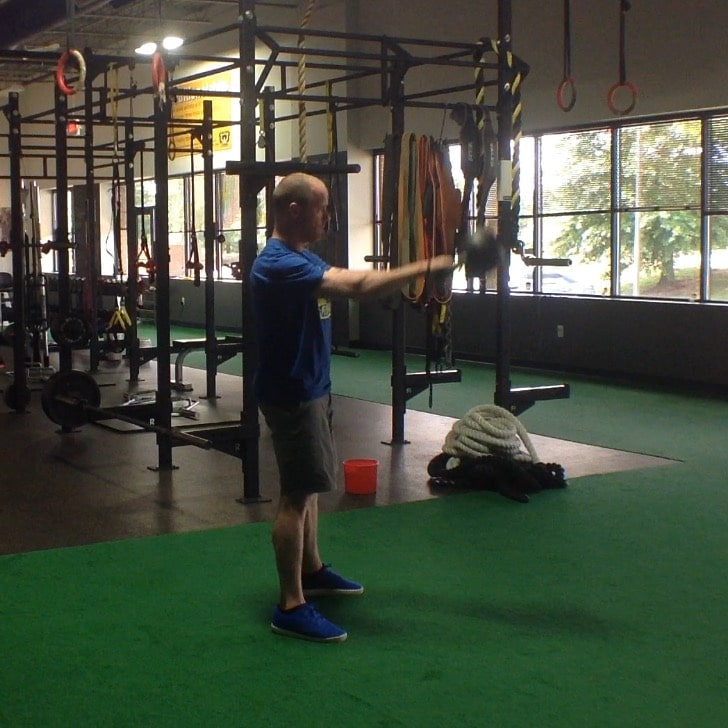
It’s a standing plank and the bell is extended straight out from the arms—which are parallel with the floor. Our ribs face our hips and our ribs face our hips. The bell should never be higher than parallel from the floor…if it carries higher than that too much stress can go to the lower back and lead to problems. No bueno.
It’s Easy as ABC!
So that’s the quick and dirty ABC’s of the kettlebell swing. Get into a solid plank, make sure your hinge is on point, nail the A and B deadlifts, find your point C, and then finish in that standing plank with your arms, and the bell, parallel with the floor. Don’t be afraid to practice each letter of the swing lots o’ times before moving on to the next letter.
If you’d like a hand nailing your swing, we’d like to help. Our kettlebell strength classes start on September 6th and we’ll be hitting the ABCs of the swing as well as other great kettlebell strength building techniques. Want in? Fill out the form below, and we’ll be in touch!