Do you find lunges difficult to perform? You heard that they can be beneficial—maybe for fat loss, maybe for muscle gain—but you struggle with them. They feel wobbly. Or just challenging.
Well, you’re not alone in feeling that way. Lunges are a challenging movement indeed—learning them doesn’t need to be challenging though.
So, what’s the best way to learn to lunge? How do we take a complex movement like a lunge and simplify it? This blog will answer both those questions.
In just a moment.
Before that, let’s chat about why lunges are beneficial in the first place.
Lunges are great for a number of reasons such as:
- lunges can help you build leg strength and size (said another way: they make your legs look more toned);
- lunges help improve balance and stability;
- lunges can be used to improve conditioning, power, or strength;
- along with a sound nutrition plan, they can help us burn calories to aid fat loss; and
- they are a foundational movement that all humans do.
To give an example for the last one, have you ever walked through the woods and had to step over a log? You did a variation of a lunge. Ever stand up from sitting on the floor? Odds are you did a variation of a lunge.
So, now that we’ve discussed why lunges are nifty, let me show you how to go from a beginner lunger, to a master lunger.
Learning The Lunge By First Learning to Kneel
Most often, people are taught how to lunge by, well, being taught how to lunge. Unfortunately, this is often an incorrect place to start. Even though it’s a fundamental human movement, as mentioned previously, it doesn’t mean we’re all prepared to do them day one.
Instead, you’re better suited by learning to control a ½ kneeling position first (as shown in the video below).
Why?
The bottom of a lunge is, ideally, a ½ kneeling position. So, it stands to reason that you should be able to control the bottom, or most challenging position, of a lunge before doing it for reps. Also, by understanding how the bottom position feels—how ½ kneeling feels—you will know if you are in a strong position once you start lunging.
A few things to keep I mind:
- your front leg should be directly in line with your hip, and your front foot should be under your knee (making a ninety degree angle);
- your back toes should be driving into the ground; and
- your “belt buckle should be tilted towards your chin” (this is our tall and tight position).
Now, if you haven’t spent time in the ½ kneeling position before, then it would benefit you to practice. Toss it into your warm-up and hold it for 30 seconds on each side. Add it to your daily routine to break up bouts of sitting at work. Regardless of when you do it, learning and becoming comfortable in the ½ kneeling position will help you with the following exercises.
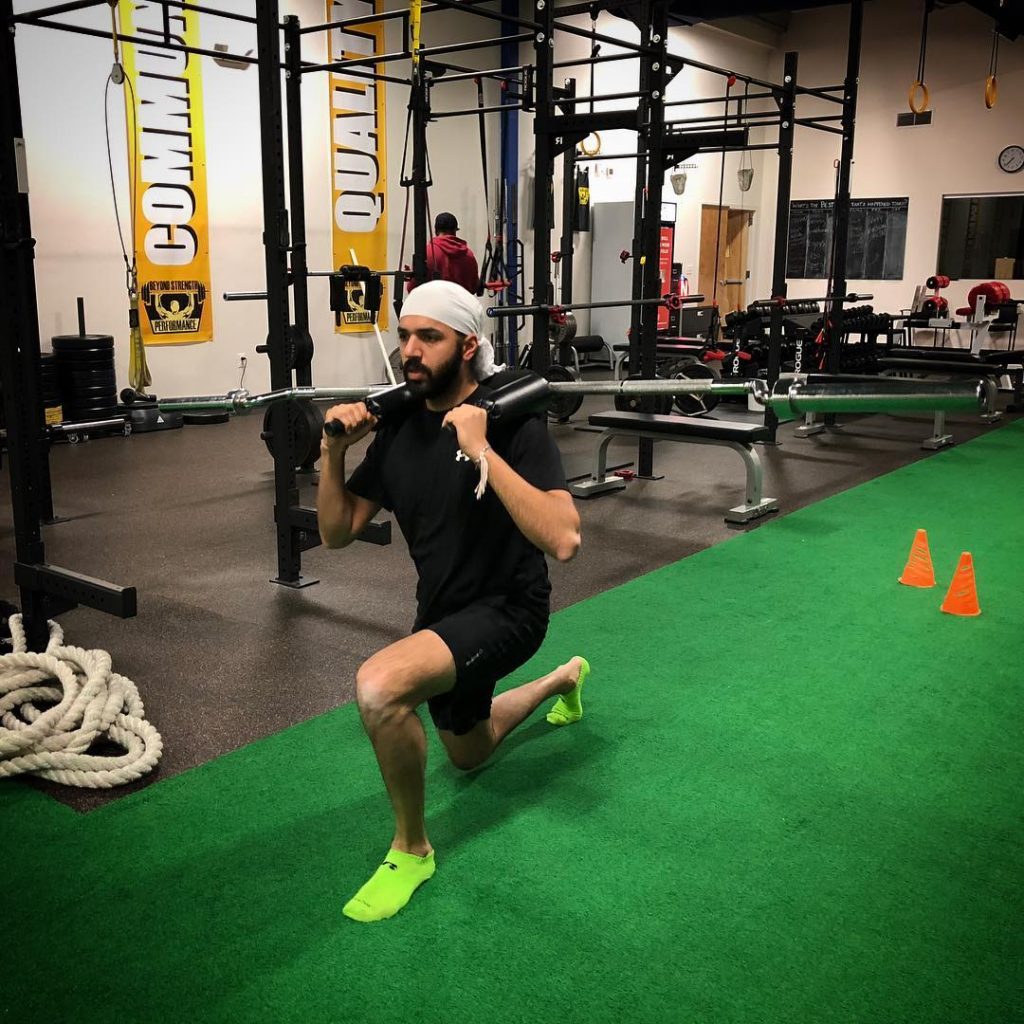
The Split Squat
Once the ½ kneeling position is learned, and you become comfortable with it, then you add movement; meaning, you learn to split squat. The split squat can be thought of as a lunge in place. Your feet stay planted the entire time now, instead of stepping into each rep like you would when lunging.
Coaching tips:
- start in a ½ kneeling position
- while keeping your tall and tight position, “drive the ground away” by pushing your front foot through the floor
- keep your back knee “soft” or slightly bent in the top position (because locking the back leg out causes us to lose position)
- make sure your front knee stays in line with your toes (it shouldn’t be diving inward)
The Reverse Lunge (With SDD)
Now that the split squat has been learned and practiced, you’re almost ready to perform a reverse lunge.
Almost.
Because while this teaching tool isn’t always necessary—sometimes going to the reverse lunge after learning the split squat is fine—it’s a great tool to learn how to lunge. SDD is our coaching mantra for lunges; it stands for Step and Stabilize, Drop, and Drive (thanks Joe Kenn).
Here’s the breakdown:
- you step backwards into the lunge;
- next, you stabilize yourself so you feel balanced before continuing;
- then, you drop down into the bottom position of the lunge; and
- finally, you drive your front foot through the ground to return to the standing position.
By learning lunges using this mantra, it not only allows you to learn the lunge effectively, because it certainly does, but it also helps with trouble shooting other lunge variations later—say, a walking lunge.
Reverse Lunge
I don’t have much to add here, because the only difference between this and the reverse lunge with SDD, is that you make the movement “flow” more; meaning, you don’t make a hard stop to stabilize, you simply move in one fluid motion (shown in the video below). You progress to a standard reverse lunge once you feel comfortable with the reverse lunge with SDD.
But wait… you missed forward lunges!
At this point, I have only talked about reverse lunges. Maybe you’re thinking, “I’ve struggled with forward lunges too, what about those?”
That’s a great question.
I haven’t spoken about them yet because, contrary to some fitness trainers/fitness influencers online, the forward lunge—and walking lunge especially—are among the hardest lunge variations. Starting people at these variations is often setting them up for failure.
Why is that?
When you perform a reverse lunge, the leg that is producing force, the front leg, stays stationary. By having this leg firmly planted through the entire set, it is easier to perform.
With forward lunges and walking lunges however, that front leg is moving; in other words as you step forward into the motion you now have to decelerate the momentum you created. This is more difficult. It’s more challenging to learn.
To be clear: we program these movements at times, but only when people have learned to do reverse lunges and split squats first. Competency with simple movements first, then movement complexity. After people are comfortable with performing reverse lunges, then we might add in forward and walking lunges.
Plus, once someone has become skilled and strong with reverse lunges, learning forward and walking lunges is much easier.
Next Steps
Now that you’re on your way to becoming a master lunger, I wanted to mention something: most people make learning exercises too difficult. They start you off with the wrong variation for you, progress you too quickly, or just don’t have sound reasoning for what they give you.
Either way, the end result is the same: you get frustrated because you struggling to do the movement correctly. My hope is that these videos and tips helped you learn how to lunge—that you feel more confident performing them.
But why stop there?
If you’re struggling with other movements—or maybe you want to learn exercises correctly and efficiently the first time—then we’d be happy to help. Claim your free week below and get started on the right foot.